An upload form can reject a photo even when it looks small on screen. File size, pixel dimensions, and file format are different requirements, and each can trigger a separate error.
Use Compress Image to KB to target an output size such as 200 KB. Before processing the image, read the form's complete requirements so compression does not solve one problem while creating another.
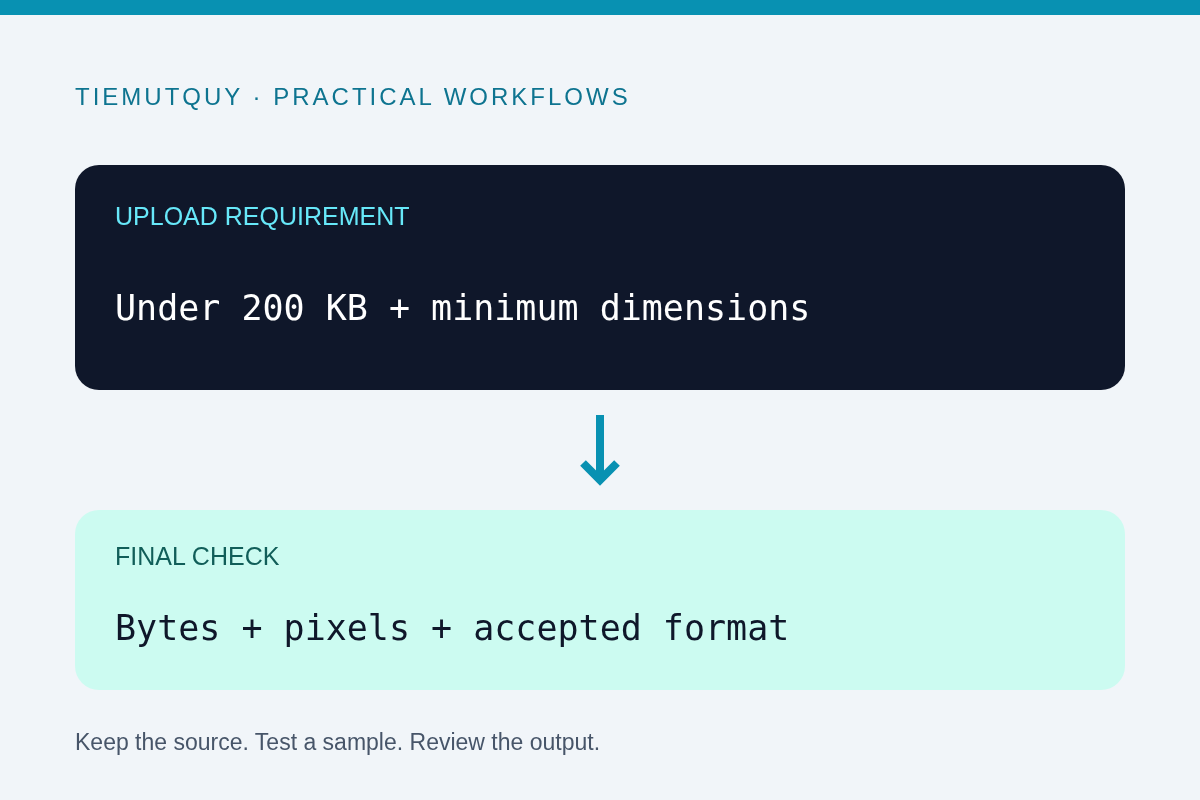
Write down all three requirements
For example, a form may accept JPG only, require a portrait of at least 600 by 800 pixels, and impose a file-size limit. A small WebP file will still fail if the form accepts only JPG. A heavily reduced JPG may meet the byte limit while missing the minimum resolution.
Keep an untouched original and work on a copy. If the form specifies a head position, background, or crop ratio, arrange that first with the Image Cropper. Repeatedly compressing and recropping the same downloaded JPG can reduce quality unnecessarily.
Do not change a filename from .png to .jpg and expect a conversion. The encoded file contents determine the format, not just the extension.
Choose a target with a little margin
Select the 200 KB preset or enter a custom target. This tool interprets each displayed KB as 1,024 bytes, so a 200 KB target corresponds to 204,800 bytes.
Some upload systems instead mean 200,000 bytes. If the form rejects a file that is just below the tool's displayed target, use a smaller value such as 190 KB, then check the actual file size. A modest margin can avoid a decimal-versus-binary unit mismatch.
The goal is to fit below the limit, not to reach an exact byte count. Two different photos at the same dimensions and quality can compress to different sizes because their visual detail differs.
Pick an accepted output format
The tool can produce JPEG or WebP. Choose JPEG when the form explicitly asks for JPG or when compatibility is uncertain. Choose WebP only when the destination accepts it.
JPEG does not preserve transparency. In this tool, transparent regions are placed on white when exporting JPEG. That may be suitable for a document photo, but it can change the appearance of a logo or a graphic that depends on transparency.
If you need a specific pixel width and height, use the Image Resizer and inspect the compressed result afterward. Compression and resizing are related, but neither automatically proves that a submission satisfies the form's specification.
Understand why dimensions can change
The compressor searches for an encoder quality that fits the target. It may also reduce dimensions to reach a useful balance between visual quality and file size. Very large inputs are capped before processing.
This means the output is not guaranteed to retain the original pixel dimensions. Check the reported width and height before downloading. If the form has a strict minimum, a result that fits the size limit may still be unsuitable.
An extremely small target can fail for a detailed image. Try a cleaner crop, reduce unnecessary background, or use a larger target if the form allows it. There is no setting that guarantees any photo can be made arbitrarily small while retaining every detail.
Inspect the downloaded file
Open the actual downloaded image, rather than judging only the preview. Check the eyes, face edges, small lettering, and other details relevant to the submission. Compression artifacts are easier to miss when the preview is scaled down.
Confirm the file's byte size, dimensions, and extension, then upload that copy. If the form still rejects it, record the exact message. A failed upload can also involve an unsupported color profile, a damaged file, or a separate account limit.
The target-size processing happens in your browser. Keep the source file and the successful output clearly named so you do not accidentally submit an older version from the downloads folder.
Frequently asked questions
Does 200 KB mean 200 pixels?
No. KB measures stored data; pixels describe image dimensions. Check both requirements independently.
Will the output always be exactly 200 KB?
No. The target is an upper bound the compressor tries to meet, and the actual output may be smaller.
Why did the photo become smaller in width?
The tool can resize to fit the target. Inspect its output dimensions and ensure they still meet the destination's minimum.